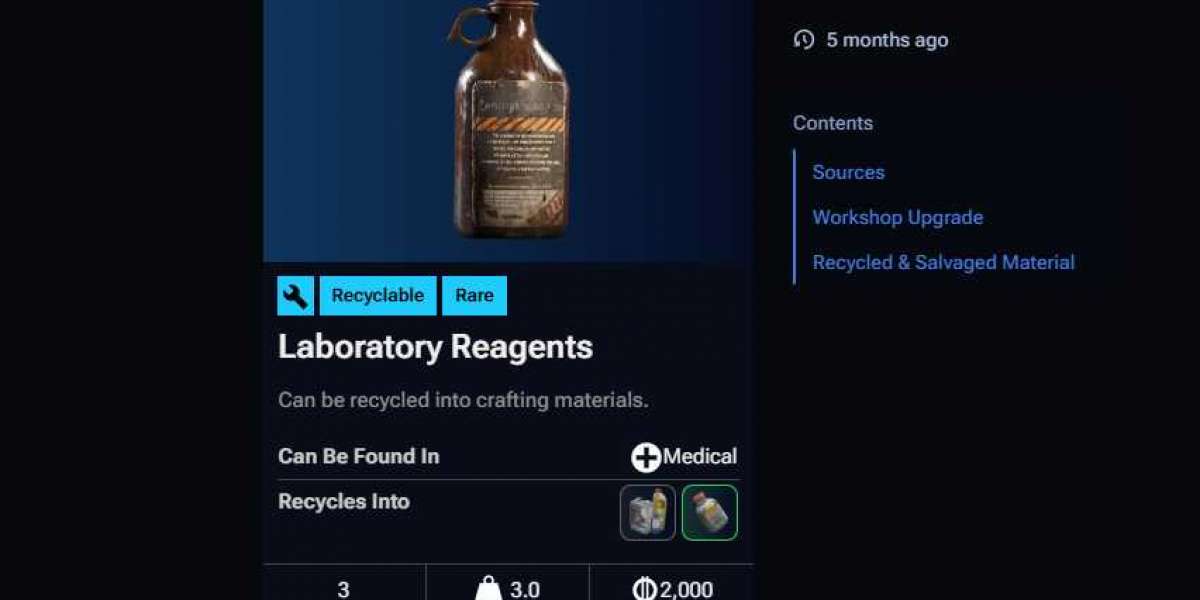

In ARC Raiders, Laboratory Reagents are one of those materials that look useless at first glance—until you suddenly need them and realize they are the bottleneck for progression. Most players only run into them when upgrading the Explosives Station from Level 2 to Level 3, which is when the grind on Dam Battlegrounds really starts to matter.
These items are rare medical-lab drops, usually found in clinical or research environments rather than general loot zones. On Dam Battlegrounds, the spawn logic heavily favors indoor lab spaces, which is why players tend to cluster around the same few buildings every raid cycle.
Why Laboratory Reagents matter
Laboratory Reagents aren’t just “upgrade filler.” They directly gate explosive crafting progression. In practice, most squads report needing multiple raid cycles before they secure even 1–2 usable samples, especially if they’re not focusing the right buildings.
A rough community pattern looks like this:
- Casual looting: 1 reagent every 3–6 runs
- Targeted farming (Testing Annex focus): 1 reagent every 1–3 runs
- Full squad control + optimized route: up to 2 reagents in a single raid (rare, RNG-heavy)
That variance is exactly why Dam Battlegrounds becomes the default farming map.
Core farming zone: Dam Battlegrounds
If you are serious about farming Laboratory Reagents, Dam Battlegrounds is effectively the only consistent option. The map’s “Testing Annex” zone is the highest-density spawn area for lab-grade medical materials.
Here’s where players consistently find them:
Testing Annex (Second Floor)
This is the most reliable hotspot. The second floor is packed with:
- Medical cabinets
- Desk clutter spawns
- Shelf-based vial drops
- Lab trays and storage bins
Most efficient runs revolve around clearing this floor in under 2 minutes before rotating out.
Southwest Entrance Lab (Testing Annex side room)
Right after passing the stairwell and alarm door, check immediately left of the outer lab entrance. Reagents often spawn:
- On metal tables
- On floor corners near equipment
- Occasionally in plain sight as loose items
This area is high-risk because players often rush it first.
Research Administration Building
A secondary but stable option. The upper floors are the key:
- Medical beds sometimes have direct spawns on top
- Lab desks occasionally spawn reagent bottles
- Lower traffic compared to Testing Annex, but slightly worse density
North Complex Bus Zone
An underrated alternative. Inside abandoned buses near extraction points, reagents can spawn on seats or floor debris. It’s not consistent, but it’s fast to check when rotating out of the map.
Farming efficiency and real raid flow
Most efficient players follow a simple loop:
- Land near Testing Annex
- Clear second floor first (before PvP escalates)
- Sweep Southwest lab entrance
- Rotate to Research Admin if uncontested
- Extract early if at least 1 reagent is secured
This reduces average raid time to about 6–10 minutes per run, instead of full 15–20 minute clears.
Mid-progression reality check
At mid-game, progression often slows because players underestimate how much time Lab Reagents actually take to gather. That’s where optimization matters more than raw combat.
Some players even mix in external resource strategies like trading-focused progression paths such as:
- U4N
Meanwhile, others try shortcuts like marketplace sourcing or third-party routes such as:
These approaches are debated in the community, but they highlight one thing clearly: reagent bottlenecks are real enough that players actively look for alternatives.
Key looting tips that actually matter
- Always prioritize open surfaces first
Reagents spawn more often on visible lab surfaces than inside containers. - Don’t waste time looting every crate
In Testing Annex, crates are often secondary compared to desks and tables. - Control entrance first if playing squad
The Southwest entrance is one of the most contested choke points on the map. - Extract early if you secure at least one reagent
Overcommitting often leads to losing rare materials to late-game PvP fights.
Laboratory Reagents on Dam Battlegrounds are less about “luck” and more about route discipline. Players who consistently hit Testing Annex efficiently will usually stabilize their upgrade progression within a few sessions, while unfocused looters can spend hours without meaningful drops.
In short: learn the building flow, avoid unnecessary fights early, and treat Testing Annex like a timed objective rather than a casual loot zone.