Introduction
You've got a logo. Maybe it's for a new business venture, a community sports team, or a special event you're planning. You want to see it stitched onto hats, bags, or jackets, and someone mentioned you need a PXF file. Now you're sitting there thinking... a what file? Don't worry. You're not alone. Most people start exactly where you are right now—staring at their logo, totally confused about what comes next. When you Convert Logo to PXF File Format, you're taking the first real step toward turning that flat image into something you can actually wear and share. Let me walk you through everything you need to know as a beginner, without all the technical jargon that makes your head spin.
What Even Is a PXF File?
Let's start with the basics because honestly, the embroidery world loves its alphabet soup of file formats.
A PXF file is a special kind of embroidery file used primarily with Tajima Pulse software, which is a big deal in the professional embroidery world . Think of it as the master blueprint for your embroidery design. Unlike those final files your machine actually stitches with, a PXF file keeps everything editable—the stitch types, the thread colors, the density settings, all of it .
Here's the key thing to understand: your embroidery machine cannot read a PXF file directly. I know, confusing right? The PXF is what you work with when you're designing and tweaking. It's like the Photoshop file version of your design. When you're finally happy with how everything looks, you export it to something your machine understands, like DST or PES .
Why Bother with PXF?
So why go through this extra step? Why not just create a file your machine can read and call it done?
Great question. Here's why PXF matters:
You can fix mistakes. Let's say you stitch out a test and realize the lettering is too dense. With a PXF file, you open it up, adjust the settings, and export a new version. If you only had the final machine file, you'd be starting over from scratch .
Colors stay accurate. PXF files hold all your color information, so when you come back to a design six months later, you know exactly which thread colors you used .
Scaling works better. Need that logo bigger for a jacket back? The PXF file lets you resize properly without losing quality .
Think of it as insurance. You're protecting all the work you put into getting the design right.
Your Options for Getting a PXF File
As a beginner, you've got a few paths forward. Let me break them down honestly.
Option 1: Professional Digitizing Services (The Smart Beginner Choice)
This is what I'd recommend for almost anyone just starting out. You send your logo to a company like Digitizing Buddy, Absolute Digitizing, or Cool Embroidery Design, and they do all the hard work for you .
They'll take your JPG or PNG, manually digitize it using professional software, and send back a perfect PXF file plus whatever machine format you need. Prices start around $10 for simple designs .
The beauty of this option is that you skip the massive learning curve. You get professional results immediately, and you can focus on actually stitching and growing your business.
Option 2: Buy the Software and Learn Digitizing
If you're the type who loves learning new skills and wants complete control, you can invest in Tajima Pulse software (the only software that truly works with PXF) and teach yourself to digitize .
Be warned though—this isn't a weekend project. Professional digitizers spend years mastering this craft. The software itself costs thousands of dollars, and you'll need a decent computer to run it . For most beginners, this path is overkill unless you're planning to make digitizing your full-time business.
Option 3: Auto-Digitizing Features
Some software has auto-digitizing buttons that promise to convert your image automatically. It sounds amazing, and I totally get why beginners are tempted .
Here's the truth though—auto-digitizing usually produces pretty mediocre results. It works okay for super simple designs with big blocky shapes, but anything with small text or fine details turns into a mess . You'll spend more time fighting thread breaks and puckering than actually stitching.
Option 4: Free Online Converters (Please Skip This One)
I have to mention this because I know you'll find them when you search. Free online converters that claim to turn your JPG into PXF with one click are basically scams .
They don't actually work. At best, they waste your time with ads. At worst, they steal your designs or infect your computer with malware. Just stay away.
Step-by-Step: What Happens When a Pro Converts Your Logo
Whether you hire it out or eventually learn yourself, here's what actually happens during a proper PXF conversion.
Step 1: Artwork Preparation
The digitizer looks at your logo. If it's a tiny, blurry JPG pulled off a website, they'll ask for something better. Vector files like AI or SVG are ideal because they scale perfectly . If all you have is a PNG, they need it at high resolution—300 DPI at minimum .
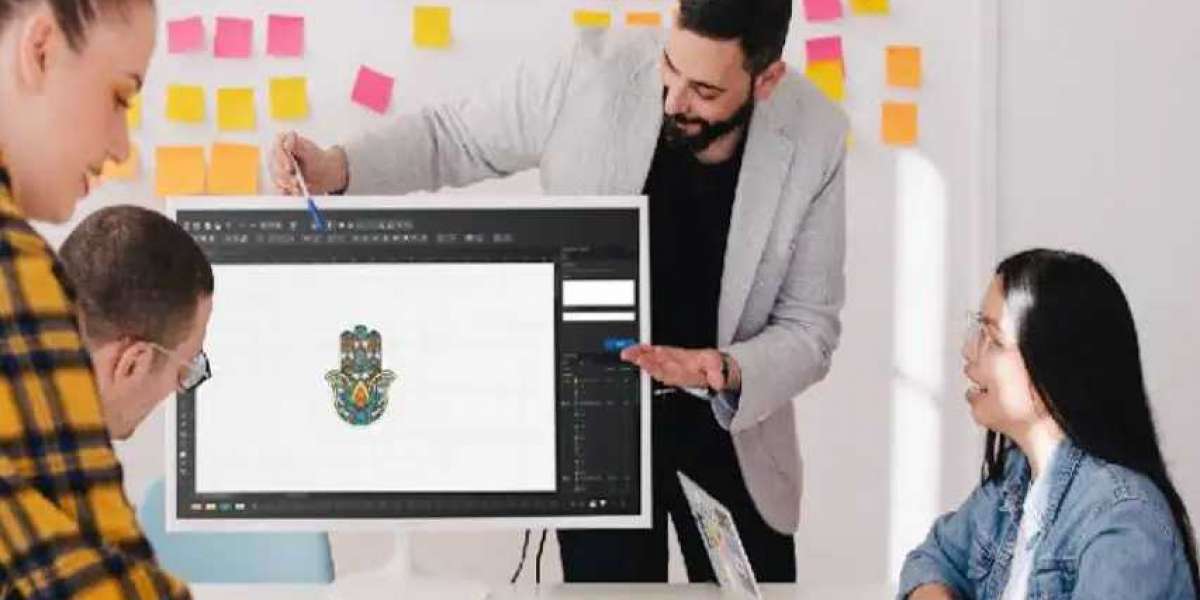
Step 2: Manual Digitizing
This is where the real work happens. Using Tajima Pulse or similar software, the digitizer traces each element of your logo by hand. They decide which parts need satin stitches (those smooth, shiny edges) and which need fill stitches (for solid areas) .
Step 3: Applying Embroidery Physics
This is what separates pros from amateurs. The digitizer adds underlay—foundation stitches that prevent puckering. They adjust pull compensation so your circles don't sew as ovals. They set stitch densities based on what fabric you're using .
Step 4: Color and Sequencing
Thread colors get matched to your logo. The stitch order gets arranged so the machine sews efficiently, minimizing jumps and trims .
Step 5: Saving as PXF
All that work gets saved as a PXF file—your editable master. Then they'll also export whatever machine format you need, like DST or PES .
What Information Your Digitizer Needs
To get the best results, you need to give your digitizer some basic information. Don't just email a logo and say "make this work."
Tell them:
The exact size in inches (left chest logos are usually 3-4 inches wide)
The fabric type (cotton, polyester, stretchy performance material, etc.)
The garment style (cap, polo, jacket, bag)
Any color matching requirements (PMS colors if you have them)
The more they know, the better they can engineer the file for your specific situation .
Testing: The Step Beginners Always Want to Skip
Here's where I see new folks make their biggest mistake. You get your PXF file back, you're excited, and you want to stitch that final project right now.
Stop. Test first.
Load the file on scrap fabric that matches your final material. Same stabilizer. Same settings. Run it and look carefully .
Does it pucker? Is the text readable? Does it run without thread breaks? If anything's off, send photos to your digitizer. Good services include free revisions for exactly this reason .
One test stitch costs pennies. A batch of ruined garments costs real money and real heartache.
Can You Convert PXF to Other Formats?
Absolutely. Once you have your logo in PXF format, you can export it to just about any machine format out there :
DST for Tajima and most industrial machines
PES for Brother and Babylock
JEF for Janome
EXP for Melco and Bernina
This flexibility is one reason PXF is so valuable. You're not locked into one machine brand .
Common Beginner Questions
"Do I really need PXF or can I just get DST?"
You can definitely just get DST if you're never going to edit the design. But if you think you might want changes later, having the PXF master saves you from paying for full redigitizing .
"How much should I pay for PXF conversion?"
For a simple left chest logo, expect $10 to $25 from reputable services . If someone offers it for $5, run away.
"What if my logo has tiny text?"
Good digitizers will be honest with you. If the text is too small to stitch clearly, they'll tell you and offer solutions. That's a sign of a trustworthy partner .
Conclusion
When you Convert Logo to PXF File Format, you're doing more than just changing a file extension. You're creating a master blueprint that preserves all the work you've put into your design. It's the format that lets you tweak, adjust, and perfect until everything is just right.
For beginners, the smartest path is almost always partnering with a professional digitizing service. Companies like Absolute Digitizing, Digitizing Buddy, Cool Embroidery Design, and Absolute Digitizer have teams of experienced digitizers who do this work every day. They'll take your logo, ask the right questions, and deliver a PXF file that's ready for whatever comes next.
The embroidery world has a learning curve, no doubt about it. But understanding PXF files and how they fit into the bigger picture sets you up for success. Your future self—the one who needs to adjust a color or resize a design—will thank you for taking the time to get it right.