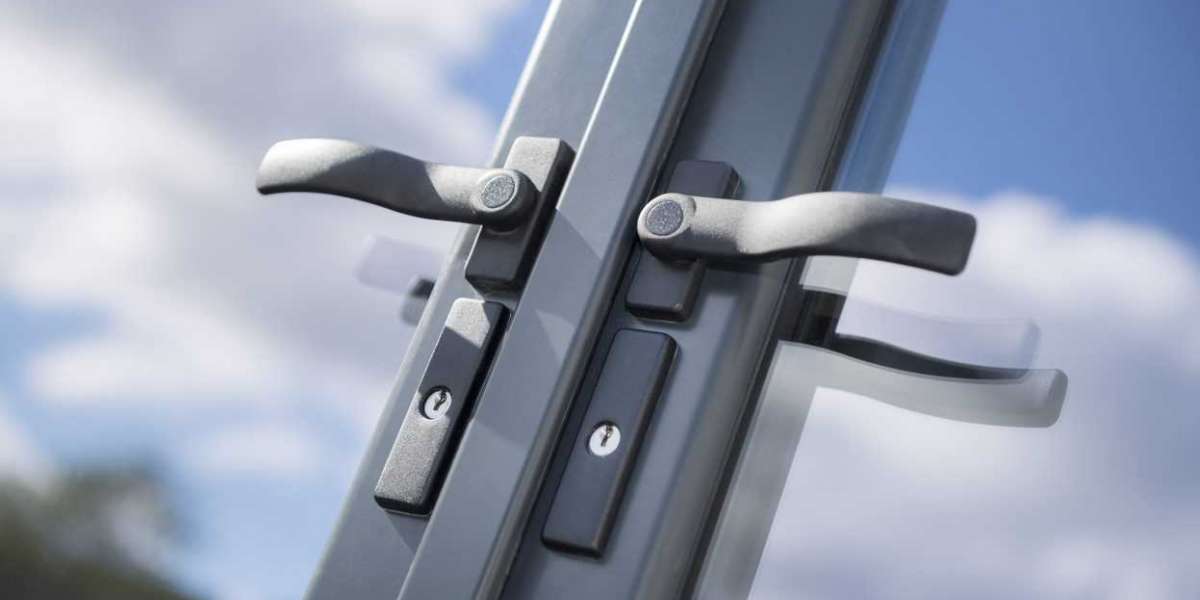
uPVC windows are among the most common window types in modern homes, valued for their durability, energy efficiency, and low maintenance.
However, like any moving part, the handles can wear out over time. They might become loose, stiff, or completely break. Installing a new handle not only restores functionality but can also improve the security and appearance of your windows.
We’ll walk through everything you need to know to successfully replace or install new uPVC window handles, even if you’ve never done it before.
Why Replace Your uPVC Window Handles?
Before diving into the installation process, it’s helpful to understand why you might need to replace your window handles in the first place. Common reasons include:
Wear and Tear: Over years of use, handles can loosen, crack, or become stiff.
Broken Locks: Many uPVC handles come with built-in locks. If the lock mechanism fails, the handle may no longer secure the window.
Upgrading Security: Modern handles often include better locking mechanisms, offering an easy security boost.
Aesthetic Reasons: If you’re redecorating, replacing old or mismatched handles can instantly freshen up your window frames.
Ease of Use: A new handle may operate more smoothly, especially for households with children or elderly members.
Types of uPVC Window Handles
Not all uPVC window handles are the same, and choosing the right type is the first step to a successful installation. Here are the most common varieties:
Espag Handles:
The most common type, found on modern uPVC windows.
They have a spindle on the back that operates the window’s locking mechanism.
Usually secured with two screws and often come with a key lock.
Cockspur Handles:
Older style, common on earlier uPVC windows.
They have a spur that latches over a wedge-shaped striker plate.
Not spindle-driven, so they work differently from espag handles.
Tilt and Turn Handles:
Designed for tilt-and-turn windows, allowing the window to either swing open or tilt inward for ventilation.
Typically more robust, with a longer spindle.
Sash Window Handles:
Less common for uPVC, but sometimes used for sliding sash-style uPVC windows.
Tip: If you’re unsure which type you have, simply open your window and examine the mechanism. Most homeowners find they have espag handles.
Tools and Materials You’ll Need
The good news is that installing a new uPVC window handle requires only basic tools. Here’s a checklist:
Replacement handle (ensure it matches your window type and spindle size)
Screwdriver (usually a Phillips head)
Tape measure or ruler (to measure spindle length if needed)
Small container (for holding screws)
Optional: drill and small drill bit (if old screws are stripped or difficult to remove)
Step 1: Measuring Your Old Handle
Before you buy a replacement handle, it’s important to measure your current one. The most crucial measurement is the spindle length—the metal square bar that protrudes from the back of the handle.
Open the window and unscrew the handle.
Measure the spindle from the base of the handle to the end of the bar.
Spindles typically range from 10mm to 55mm in length, with 15mm, 30mm, and 40mm being the most common sizes.
If you’re replacing a cockspur handle, measure the “stack height”—the distance between the base of the handle and the underside of the spur.
Step 2: Removing the Old Handle
Once you’ve got your new handle ready, it’s time to remove the old one.
Locate the screws. Most uPVC handles are held in place with two screws, usually hidden beneath plastic screw covers or caps.
Pop off the covers. Use a small flathead screwdriver or your fingernail to lift them.
Unscrew the handle. Using your screwdriver, carefully remove both screws and keep them in a container.
Remove the handle. Gently pull the handle away from the window frame. If it feels stuck, wiggle it slightly—avoid forcing it too hard, as this could damage the frame.
Step 3: Installing the New Handle
With the old handle removed, fitting the new one is straightforward.
Align the spindle. Insert the spindle of the new handle into the hole on the window mechanism.
Position the handle. Line up the screw holes of the handle with those on the window frame.
Secure with screws. Tighten the screws evenly with your screwdriver. Don’t overtighten, as this can strip the plastic or make the handle stiff to use.
Attach screw covers. Most handles come with plastic covers to hide the screws for a neat finish.
Test the handle. Try opening and locking the window to ensure it operates smoothly.
Step 4: Safety and Finishing Touches
Check the lock: If your new handle has a key lock, insert the key and test it.
Lubricate the mechanism: A small amount of silicone spray or graphite lubricant can help the mechanism run smoothly.
Match finishes: Handles come in different finishes (white, chrome, brass, black). Choose one that matches your decor for a polished look.
Troubleshooting Common Issues
Even with simple DIY projects, you might encounter small hurdles. Here’s how to fix them:
Handle doesn’t fit: Double-check the spindle length or handle type. You may need a different replacement.
Screws won’t tighten: If the screw holes are worn, use slightly longer screws or wall plugs designed for uPVC.
Handle feels stiff: Don’t overtighten the screws, and consider adding lubricant to the mechanism.
Window won’t lock: Ensure the spindle is the correct length and fully engages with the locking system.
Tips for Beginners
Always keep your old handle until the new one is fully installed—this way, you can compare measurements if needed.
Work slowly and carefully; rushing may strip screws or damage the uPVC frame.
Buy from reputable suppliers to ensure your new handle meets security standards.
If you’re replacing multiple handles, measure each one individually—sometimes spindles vary slightly between windows.
Benefits of DIY Installation
Installing a new uPVC window handle yourself saves both time and money. A professional may charge for a call-out fee plus labor, while a replacement handle usually costs between £5 and £20 depending on type and finish. In less than 15 minutes, you can have a fully functioning, secure window handle.
DIY also gives you the confidence to tackle other small household repairs. Once you’ve successfully replaced one handle, you’ll likely feel comfortable doing the rest of your windows.
Conclusion
Replacing a uPVC window handle is a beginner-friendly DIY task that requires minimal tools, no specialist knowledge, and only a short amount of time. By understanding the different handle types, measuring carefully, and following a simple installation process, you can quickly restore your window’s functionality, improve security, and even enhance your home’s aesthetics.
So, next time a handle becomes loose, breaks, or just looks outdated, don’t call a repairman straight away. With this guide and a little patience, you’ll be able to install new uPVC window handles with confidence—all while saving money and gaining valuable DIY skills.


